
Normal Mode/ Easy Mode
(This guide was created by the amazing Dew Drop! All credit for this guide goes to her and her awesomeness!)
Requirements
- Level 1
- OPTIONAL: An arctic wolf (Either you or a friend)
Profits During Adventure
- Plugging a Pipe ⇨ 5 Courage
- Leading a Phantom to a Chomper ⇨ 5 Courage & 25 Gems
- Watering a Plant ⇨ 5 Courage
- Opening A Gem Chest ⇨ Assorted, see Part 3 of guide
- Unlocking the Phantom Door ⇨ 15 Courage
- Unlocking Arctic Wolf Gate ⇨ 25 Courage
- Unlocking A Cage ⇨ 15 Courage
- Prizes ⇨ see the AJGC adventure page
Guide
When you enter the adventure, you’ll come upon the Panda Alpha Liza.
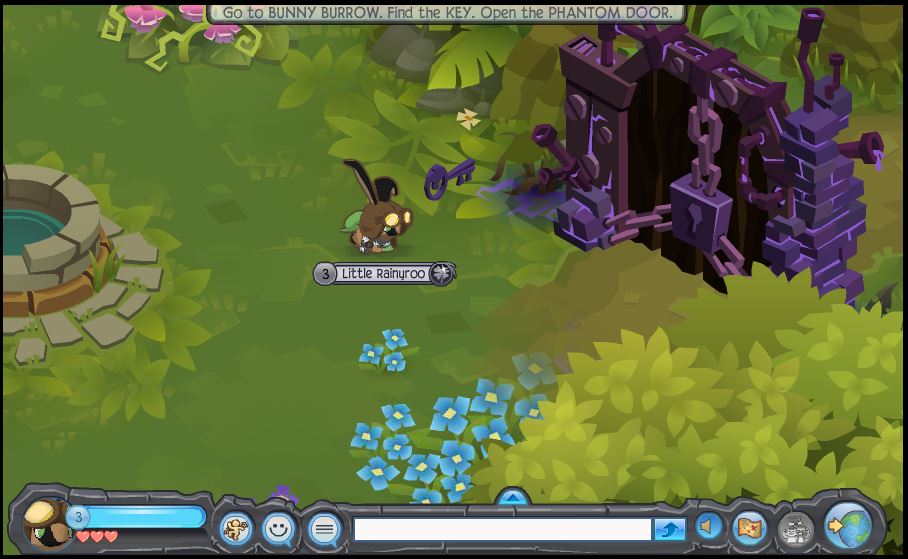
She’ll tell you that the phantoms have come back and are polluting the forest. If you want to skip Liza’s talking, just click the “X” button. Now walk along the path to the Bunny Burrow. Talk to Pumpkin. She’ll give you a cork. Pick it up and use it to plug the phantom pipe to the right.

Part 1~ A Plug For A Pipe
Now head on. Your goal in this portion of the adventure is to collect the corks and plug the pipes. Kill the phantoms by letting them chase you to a chomper. The chomper will eat the phantom and disappear.The first cork is at the beginning, to the left. You can grab the corks in any order, but this is the way that will work better when you progress to hard mode so it’s good to get in the habit. Lead the phantom floating around the bridge to the chomper to the left of Zios. Then grab the cork.

With the cork, cross the bridge and plug the cork into the nearest pipe. Then lead the phantom floating around the contaminated well to the chomper next to the bridge.

Now carefully go towards the right of the well. The phantom is guarding a cork, as well as the Phantom Door. Lead the phantom to the chomper below it.

Pick up the cork and head back down to the river to stop the flow of the second phantom pipe.
For the third (and last) cork, walk up. You’ll come across the last cork, without a phantom guarding it. There’s an extra chomper there as well. Grab the cork and plug the last pipe.
The well and river are now back to their normal color! The goal of the next portion is to water the plants.
Part 2~ Some Watering Work
Grab a watering can full of water from the well and start watering some plants! An example of a plant needing water is the one right above the bunny in the photo below. You will need to grab a new watering can from the well every time you water a plant. There is a second well at the Bunny Burrow to use. I have added the locations of the plants below as well.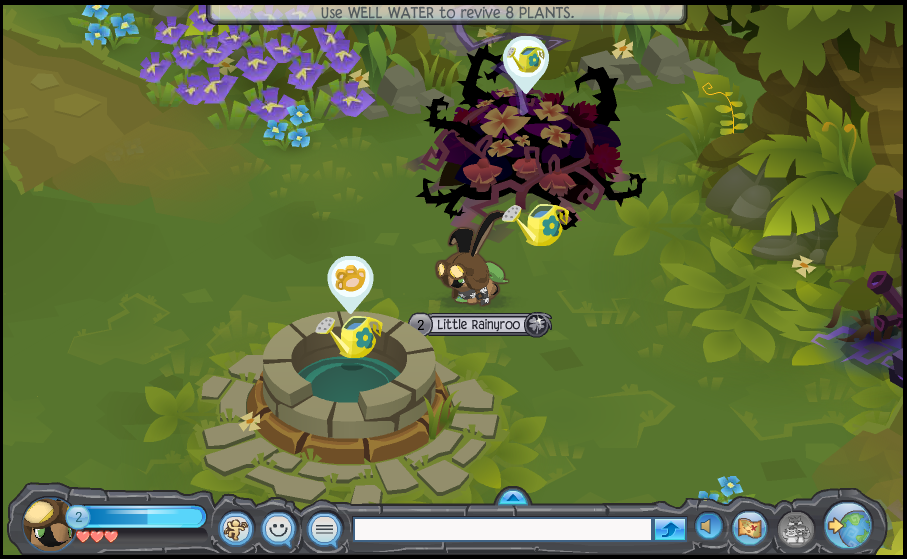
Plant Locations
- 1 above the well (Pictured above)
- 2 below the well (Both are around the river)
- 1 in front of the bridge, right of Zios
- 4 next to each other, northwest area of Bunny Burrow (Pictured below)

I will now show you where the extra gem chests are. If you do not want to get them, you can skip part 3 and go to part 4.
Part 3~ Gem Chests
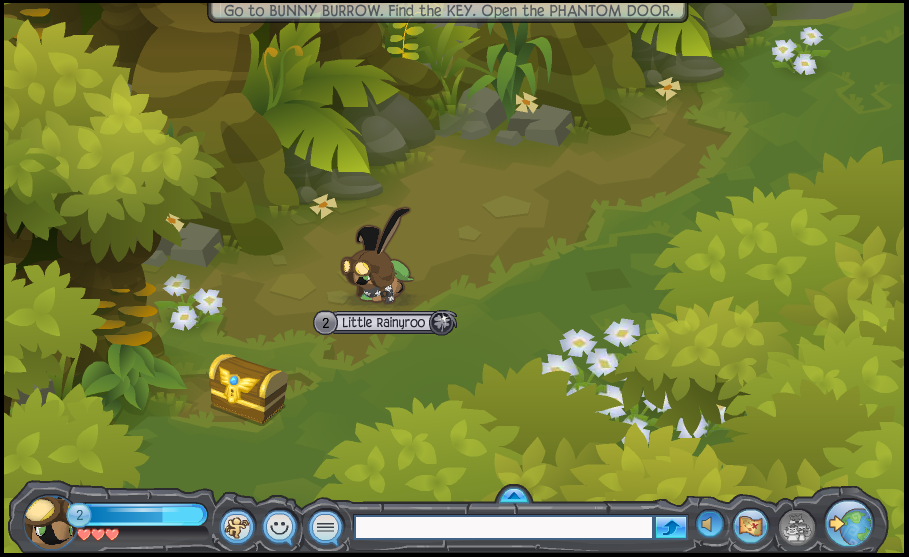
Go down from the Bunny Burrow well and then follow the river down. If you walked right, you will come upon a gem chest. This chest will give you 100 Gems and 5 Courage.

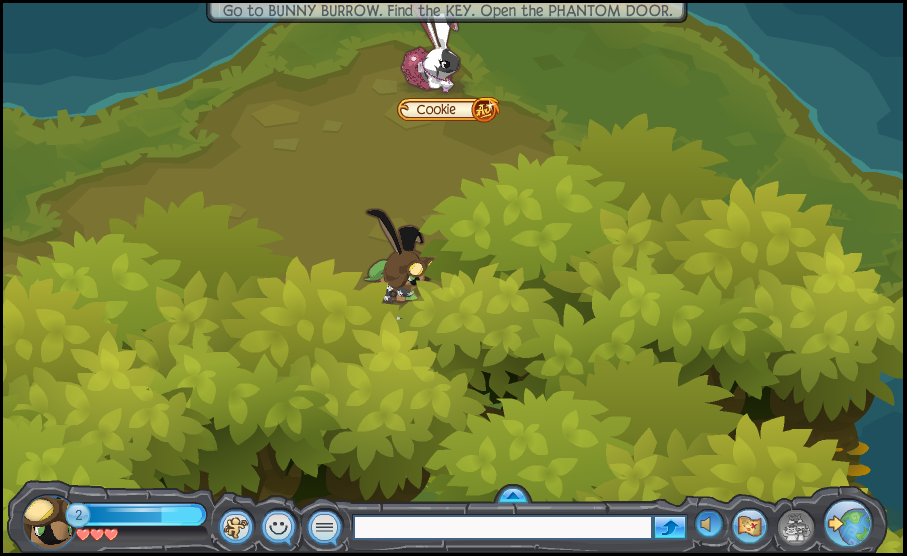
For the next gem chest, follow the river back up and go right until you reach a bunny named Cookie. Now walk below Cookie. There is a walkable pathway down. You should reach another chest. This one gives you 200 gems and 5 Courage.
For the last gem chest, go up until you see Cookie again. Then go right and follow the river down. You should find the third gem chest. This one gives you 100 gems and 5 Courage.

Now, go back to Bunny Burrow to continue the adventure!
Part 4~ Phantom Keys
Now, it’s finally time to get the trapped bunnies out of their cages! The cages and doors are opened by phantom keys, which are keys that are purple, with a the likeness of a phantom body on it. One key per door/cage.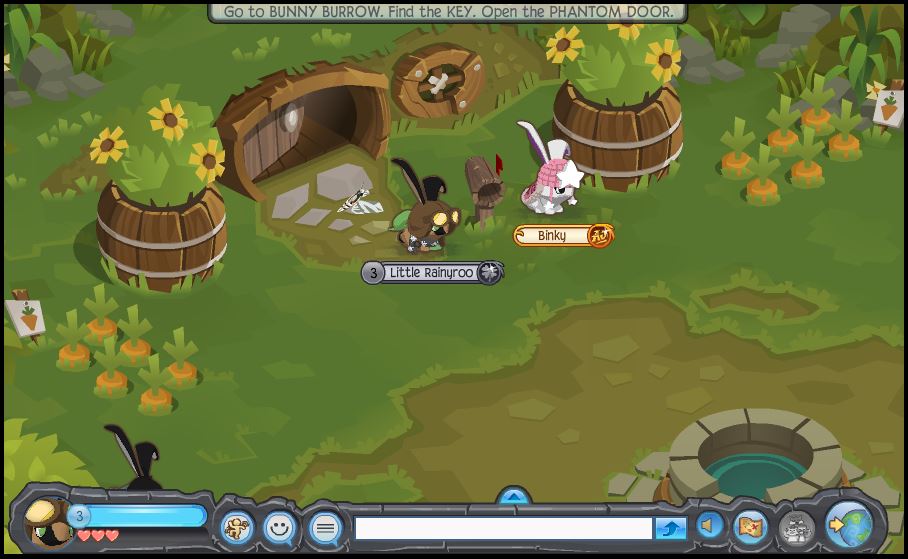

At the last room in the Bunny Burrow home, talk to Clover and a phantom key will appear on the rug. Pick it up and head back to the Phantom Door.
Unlock the Phantom Door and continue down the path.


Soon, you will reach the Arctic Wolf Gate. (Pictured above) If you decided to bring an arctic wolf along, you may unlock it and head up into a small cavern that will give you a random clothing item and 5 Courage.
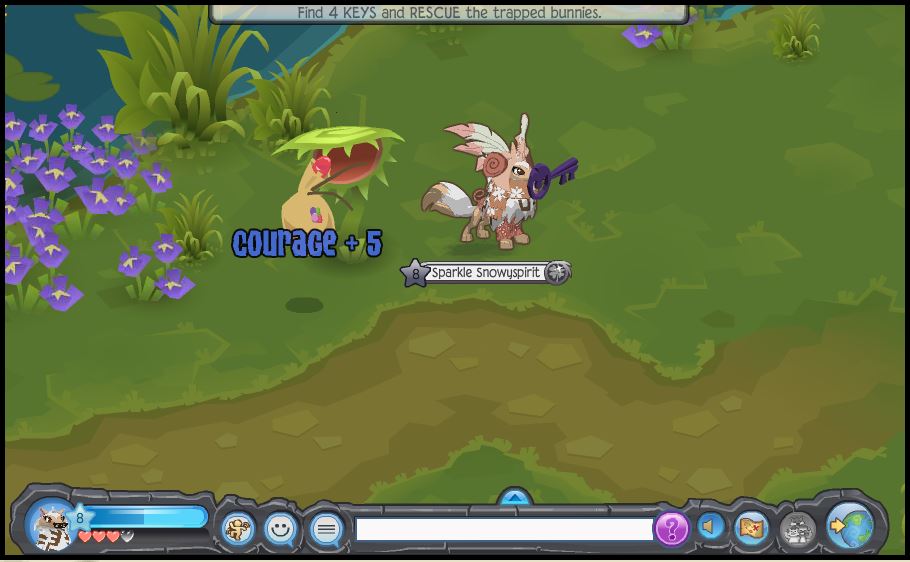
Proceed to lead the phantoms to the nearby chompers. One phantom guards a chest that will give you 150 gems and 5 Courage.

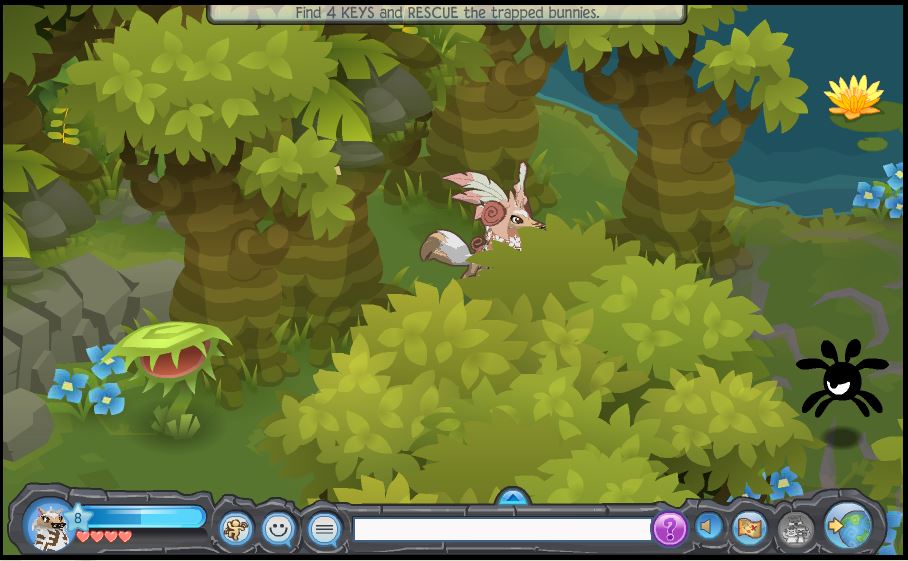
The first key can be found just a little ways farther down the path (pictured above).

Continue rightward along the path until you reach the two phantoms blocking the way. It’s best to run at either the very top or bottom of the path, when the phantoms are at the opposite side. Once you get past, feel free to lead the phantoms to the chompers to their right to make things easier.

Now you may continue on to free your first bunny. Contrary to what some may believe, the order does not matter in any mode to attaining a better prize. So, pick any bunny you’d like!

The second key can be found here (pictured above), close to where the two path-blocking phantoms were. Then, free a second bunny.
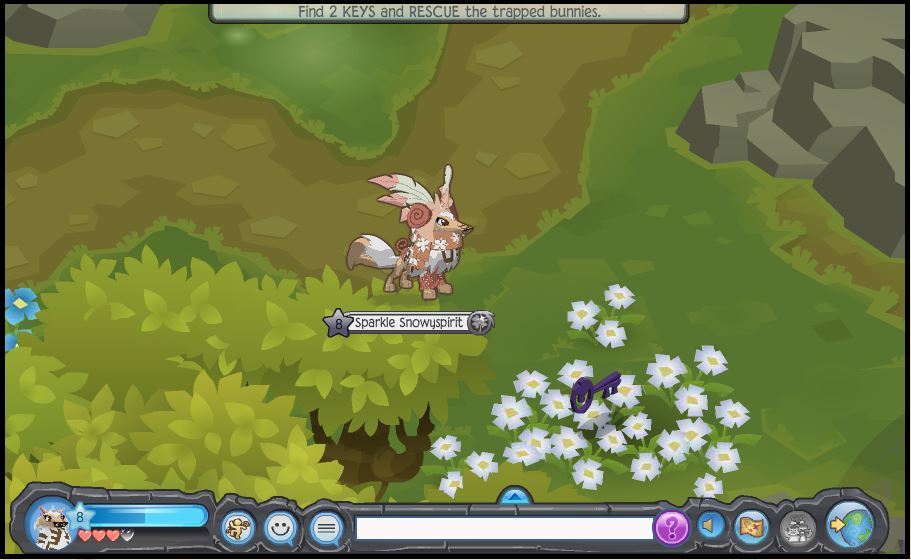
The third key can be found here (pictured above), just below the Zios. Then, free a third bunny.

The fourth, and last, key can be found here (pictured above), to the right of the phantom trio. Feel free to bring the trio to their respective chompers if you need the extra gems and Courage. Time to free the last bunny!


Once you have freed the last bunny, Liza will show up in front of the emerald gate. Talk to her. Click the ‘X’ button if you’d like to skip her babbling. Once she’s done speaking, you may earn your prize and leave the adventure.
Hard Mode chests
Chest below Bunny Burrow: 200 gemsChest left of two pipes: 100 gems
Chest below Cookie: 400 gems
Chest below Phantom Door: 200 gems
Chest below clearing: 200 gems
This is awesome! I already saw it on Asana, but it's awesome anyway!
ReplyDeletejust so everyone knows, there is another gem chest about half way from Liza if you walk through the trees.
ReplyDelete